Change Looker Studio data sources
Learn how to change a data source in Looker Studio, from replacing sources to switching accounts. Avoid broken charts with best practices and a validation checklist.
In a marketing dashboard, data sources are constantly evolving. A client may switch Google Ads accounts, a new advertising platform like TikTok Ads or LinkedIn Ads needs to be integrated, or a CRM gets replaced. In all these cases, your Looker Studio reports must adapt quickly.
Changing a data source is a common operation, but it can have immediate impacts: broken charts, missing KPIs, blocked access for your team, or inconsistencies in campaign tracking. To avoid unpleasant surprises, it’s essential to understand how to modify a source and anticipate its effects.
In this guide, we’ll cover:
- who can edit a data source,
- the different methods to do it,
- the potential impacts on your marketing dashboards,
- and finally, best practices and a checklist to secure your changes.
Prerequisites
To be able to change a data source, you need to:
- have the right level of access to the data source:
- Reusable data source: be the owner or editor of the source.
- Embedded data source: be the owner or editor of the report.
- have access to the connected marketing platform (Google Ads, Meta Ads, CRM, Google Sheets, etc.) with the necessary permissions.
- (optional) have an active paid account for partner connectors (Catchr, Supermetrics, etc.).
The different ways to change a data source in Looker Studio
Changing a data source in Looker Studio can serve different purposes. Depending on the situation, the approach will vary.
Replace a data source in a report
Replacing a data source means removing the old one and adding a new data source across the entire report. To do this, you have two options:
- Option 1: use this if your report relies on only one data source.
- Option 2: works in any case, whether your report uses one or multiple data sources.
Option 1: Change the data source at the report level
- Go to the File menu
- Then Report settings
In the window on the right, choose either an existing or create a new data source by clicking Add data. Your old source will be replaced by the new one across the entire report.
- Select an existing source: pick one you’ve already connected to Looker Studio.
- Create a new source: connect a new platform (e.g., Google Ads, Google Sheets, CRM) if the one you need doesn’t already exist in your report.
Option 2: Remove the old source and add a new one
- Go to the Resources menu
- Then Manage added data sources
- And click Add a data source. Here, you can either add a new source or select an existing one.

Once you’ve added your new source, you need to replace the old one in all the visualizations of your report:
- Select all the charts using your old source by right-clicking on a visualization → Select → Charts with this data source on page.
- In the right-hand panel, change the data source by selecting the new one you added.
Repeat these two steps on every page of your report that contains the old source.

When everything has been updated, you can safely delete the obsolete data source.
Edit the connection or account of a data source
In many cases, you may only need to change the account while keeping the same data source. For example, you might want to display the Facebook Ads data from Client B instead of Client A in your report.
To do this:
- Go to Resources → Manage added data sources.
- Click Edit next to the data source you want to update.
- In the editor, click Edit connection.
- Select the new account you want to connect to the report.
- Confirm by clicking Reconnect and Apply changes.
For certain native connectors in Looker Studio, you can also use a data control to toggle between accounts for the same data source.
Change the data source of a single page in a report
If you are working with a multi-page report where each page corresponds to a platform (for example, one page for Google Ads, another for Meta Ads, etc.), you may want to change the data source for just one page without affecting the rest of the report.
The process is similar to editing a source at the report level:
- Click on Page in the top menu.
- Select Current page settings.
- In the Setup tab, click Select data source (or directly on the name of the current source).
- Choose an existing data source or create a new one.
Change the data source of a single component
You can also choose to change the data source for just one visualization or component. To do this:
- Click on the component you want to edit.
- In the right-hand panel, click on the current data source.
- Select an existing data source or create a new one, it will then be applied to your visualization.

The impact of changing a Data Source
Changing a data source in Looker Studio is not a trivial task. Depending on how the new source is configured, it can affect both the readability and the reliability of your marketing reports.
On the report
When you modify a source, some charts may break if fields are missing or renamed differently. Filters and calculated fields might stop working, and blended data can also fail if one of the sources is no longer available.
On access
When you change a source, some users may lose access to the report. This happens if the new source or the connected platform (Google Ads, Facebook Ads, HubSpot, etc.) does not have the same permissions as the previous one. Similarly, if you use an external file (Google Sheets, BigQuery, CSV), incorrect sharing settings can completely block data from appearing.
On the data
Changing a source can also impact the quality of your data. If the new source does not cover the same time period, you may lose historical data. The level of granularity can also differ — for example, a daily export will not provide the same detail as an hourly export. After every modification, it is essential to check that your key marketing KPIs (clicks, impressions, conversions, costs) remain consistent.
Best Practices
Changing a data source in Looker Studio is common, but it requires method and vigilance. Here are some best practices to follow to avoid errors and keep your marketing reports secure:
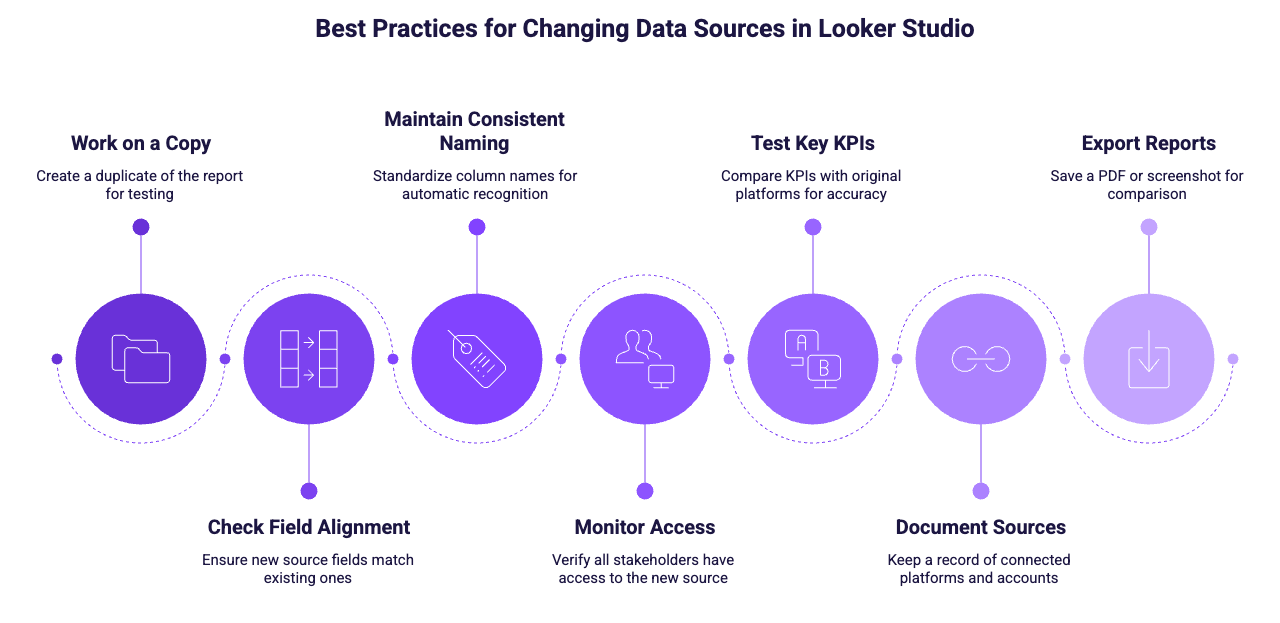
- Always work on a copy of the report before making modifications. This allows you to test without impacting the version viewed by your team or clients.
- Check field alignment. Ensure the new source contains the same dimensions and metrics (e.g., Campaign name, Impressions, Cost) to avoid broken charts.
- Maintain consistent naming. Standardize your columns upstream (Google Sheets, CRM exports, etc.) so Looker Studio can recognize fields automatically.
- Monitor access. Confirm that the new source is shared with all stakeholders (colleagues, managers, clients).
- Test your key KPIs after each change. Compare clicks, impressions, conversions, costs, or leads with the original platforms to validate accuracy.
- Document your sources. Keep a record of connected platforms (Google Ads, Meta Ads, LinkedIn Ads, CRM, etc.), accounts used, and linked files to save time later.
- Export your reports before changes. Save a PDF or screenshot to quickly compare before/after and detect inconsistencies.
By applying these practices, you reduce the risk of errors, save time on maintenance, and ensure your marketing dashboards remain reliable and actionable.
Validation Checklist
Before finalizing your changes, make sure:
- All charts display without errors.
- Calculated fields still work.
- Blended data and joins remain valid.
- Filters and segments return the correct results.
- Users still have access to the data.
- Displayed metrics are consistent with expectations.

