Create and add a data source in Looker Studio
Learn how to create, manage and add a Looker Studio data source on a report. Full guide to know all about the creation and configuration of a data source.
You're new to Looker Studio, or maybe you just want a quick overview of how to use it? Today, we'll guide you through creating your first Looker Studio data source. But before we start, let’s quickly remind you what a data source is.
A data source is the connection that links your report to an external dataset, such as Google Analytics, BigQuery, or a spreadsheet. It defines the available fields (dimensions and metrics), their structure, and how they can be used for visualization, filtering, and analysis—all without altering the original data. To bring this data into Looker Studio, you have two options: use a native connector or a partner connector (like Catchr) to access a wider range of platforms.
Prerequisites for creating a data source
To create and add a data source in Looker Studio, you must first have access to a Looker Studio account. To create one, go to Looker Studio and sign in with a Gmail account. Please note that it is not possible to create a Looker Studio account without a Gmail address. You will also need access to the data sources you want to connect.
Workflow overview
- Choose your data source
- Grant access to your data source
- Configure the query
- Add the source to a report
How to create a data source
To open the window for adding or configuring a data source, you have two options.
- Create from the home page
When you’re on the Looker Studio home page, you can create a new source. Click Create and then select Data Source.
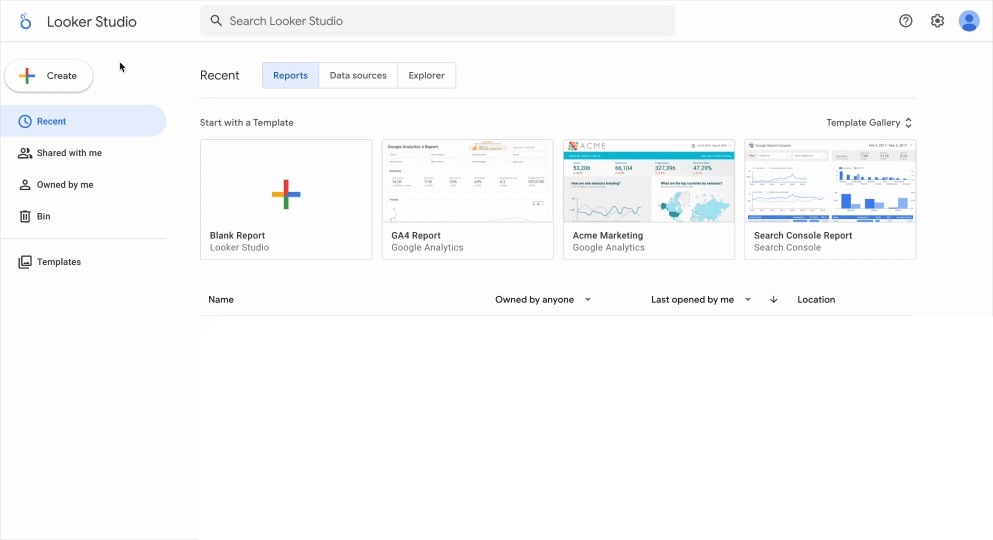
- Create from a report
You can also set up a new data source directly from a report by clicking Add data.

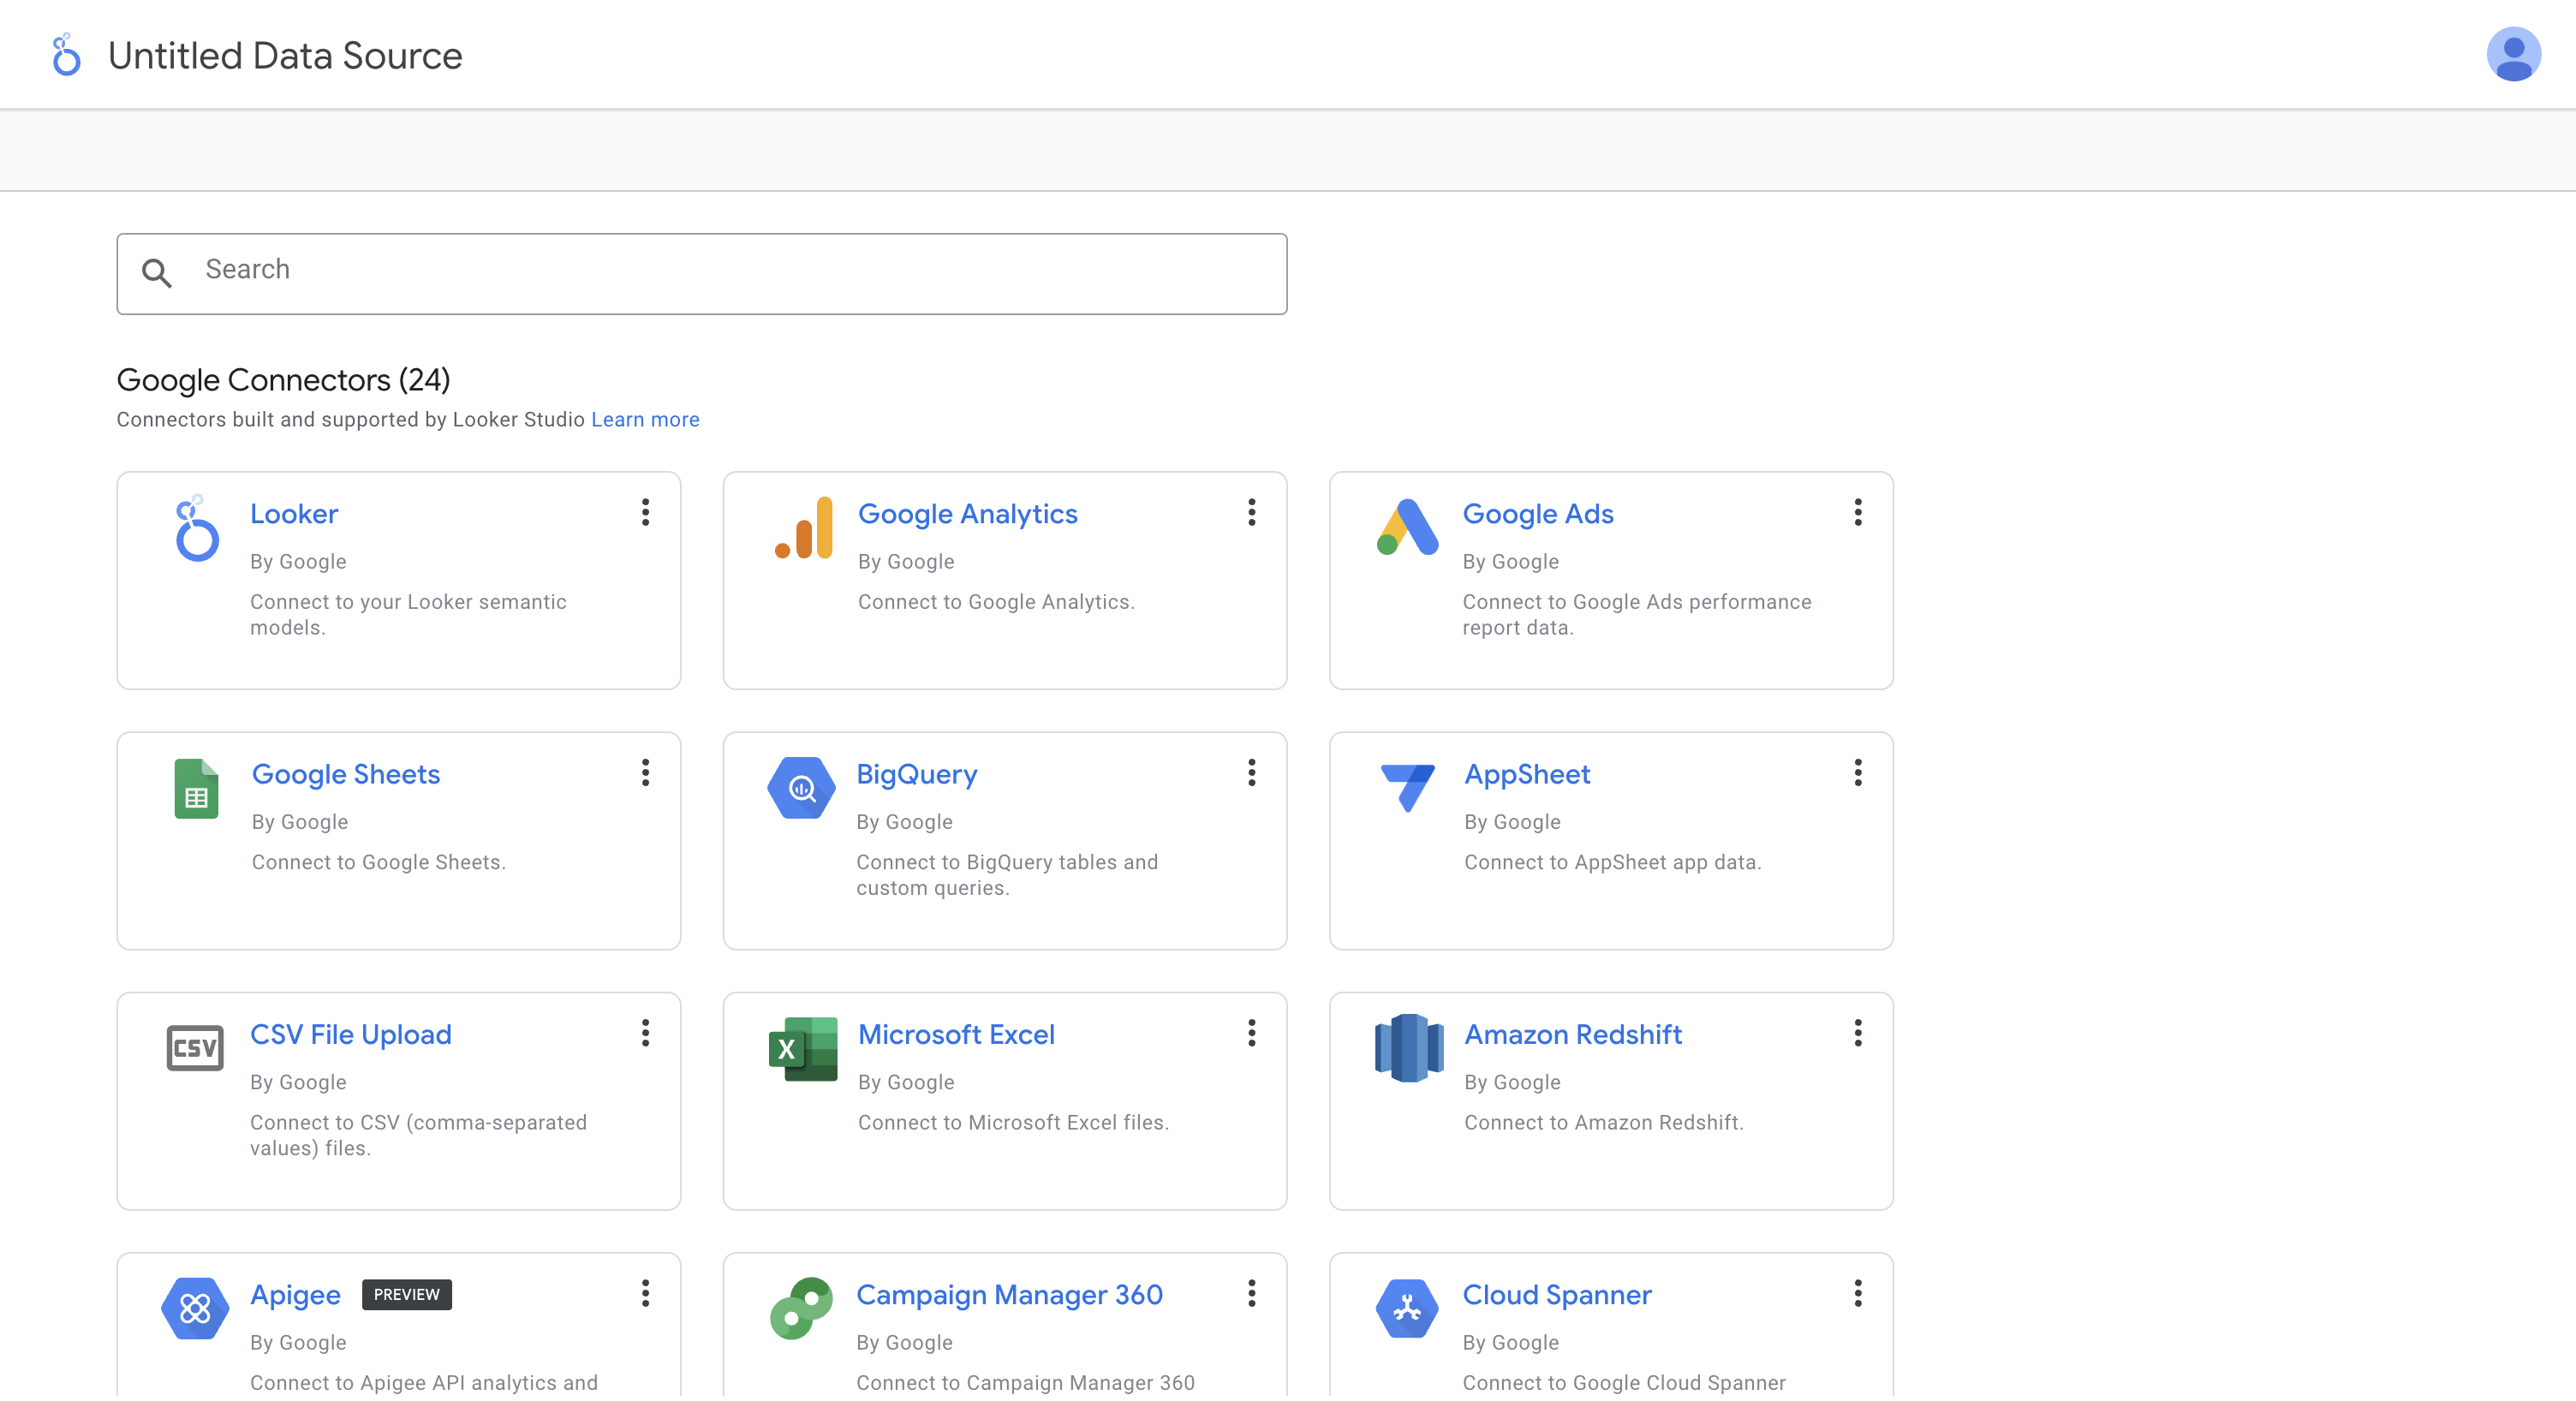
Select a connector
In the data source creation window, you’ll find a list of available connectors. Use the search bar to quickly locate the one you need. There are two types of connectors:
Google connectors
Looker Studio provides 24 native connectors to link your data from tools like Google Analytics, Google Ads, or Google Sheets. These connectors are free and offer unlimited access.
Partner connectors
In addition to the native options, Looker Studio also allows third-party partners to provide additional connectors. These are available directly in the data source configuration window, listed below the native connectors. This is where you’ll find the 80+ marketing connectors offered by Catchr.
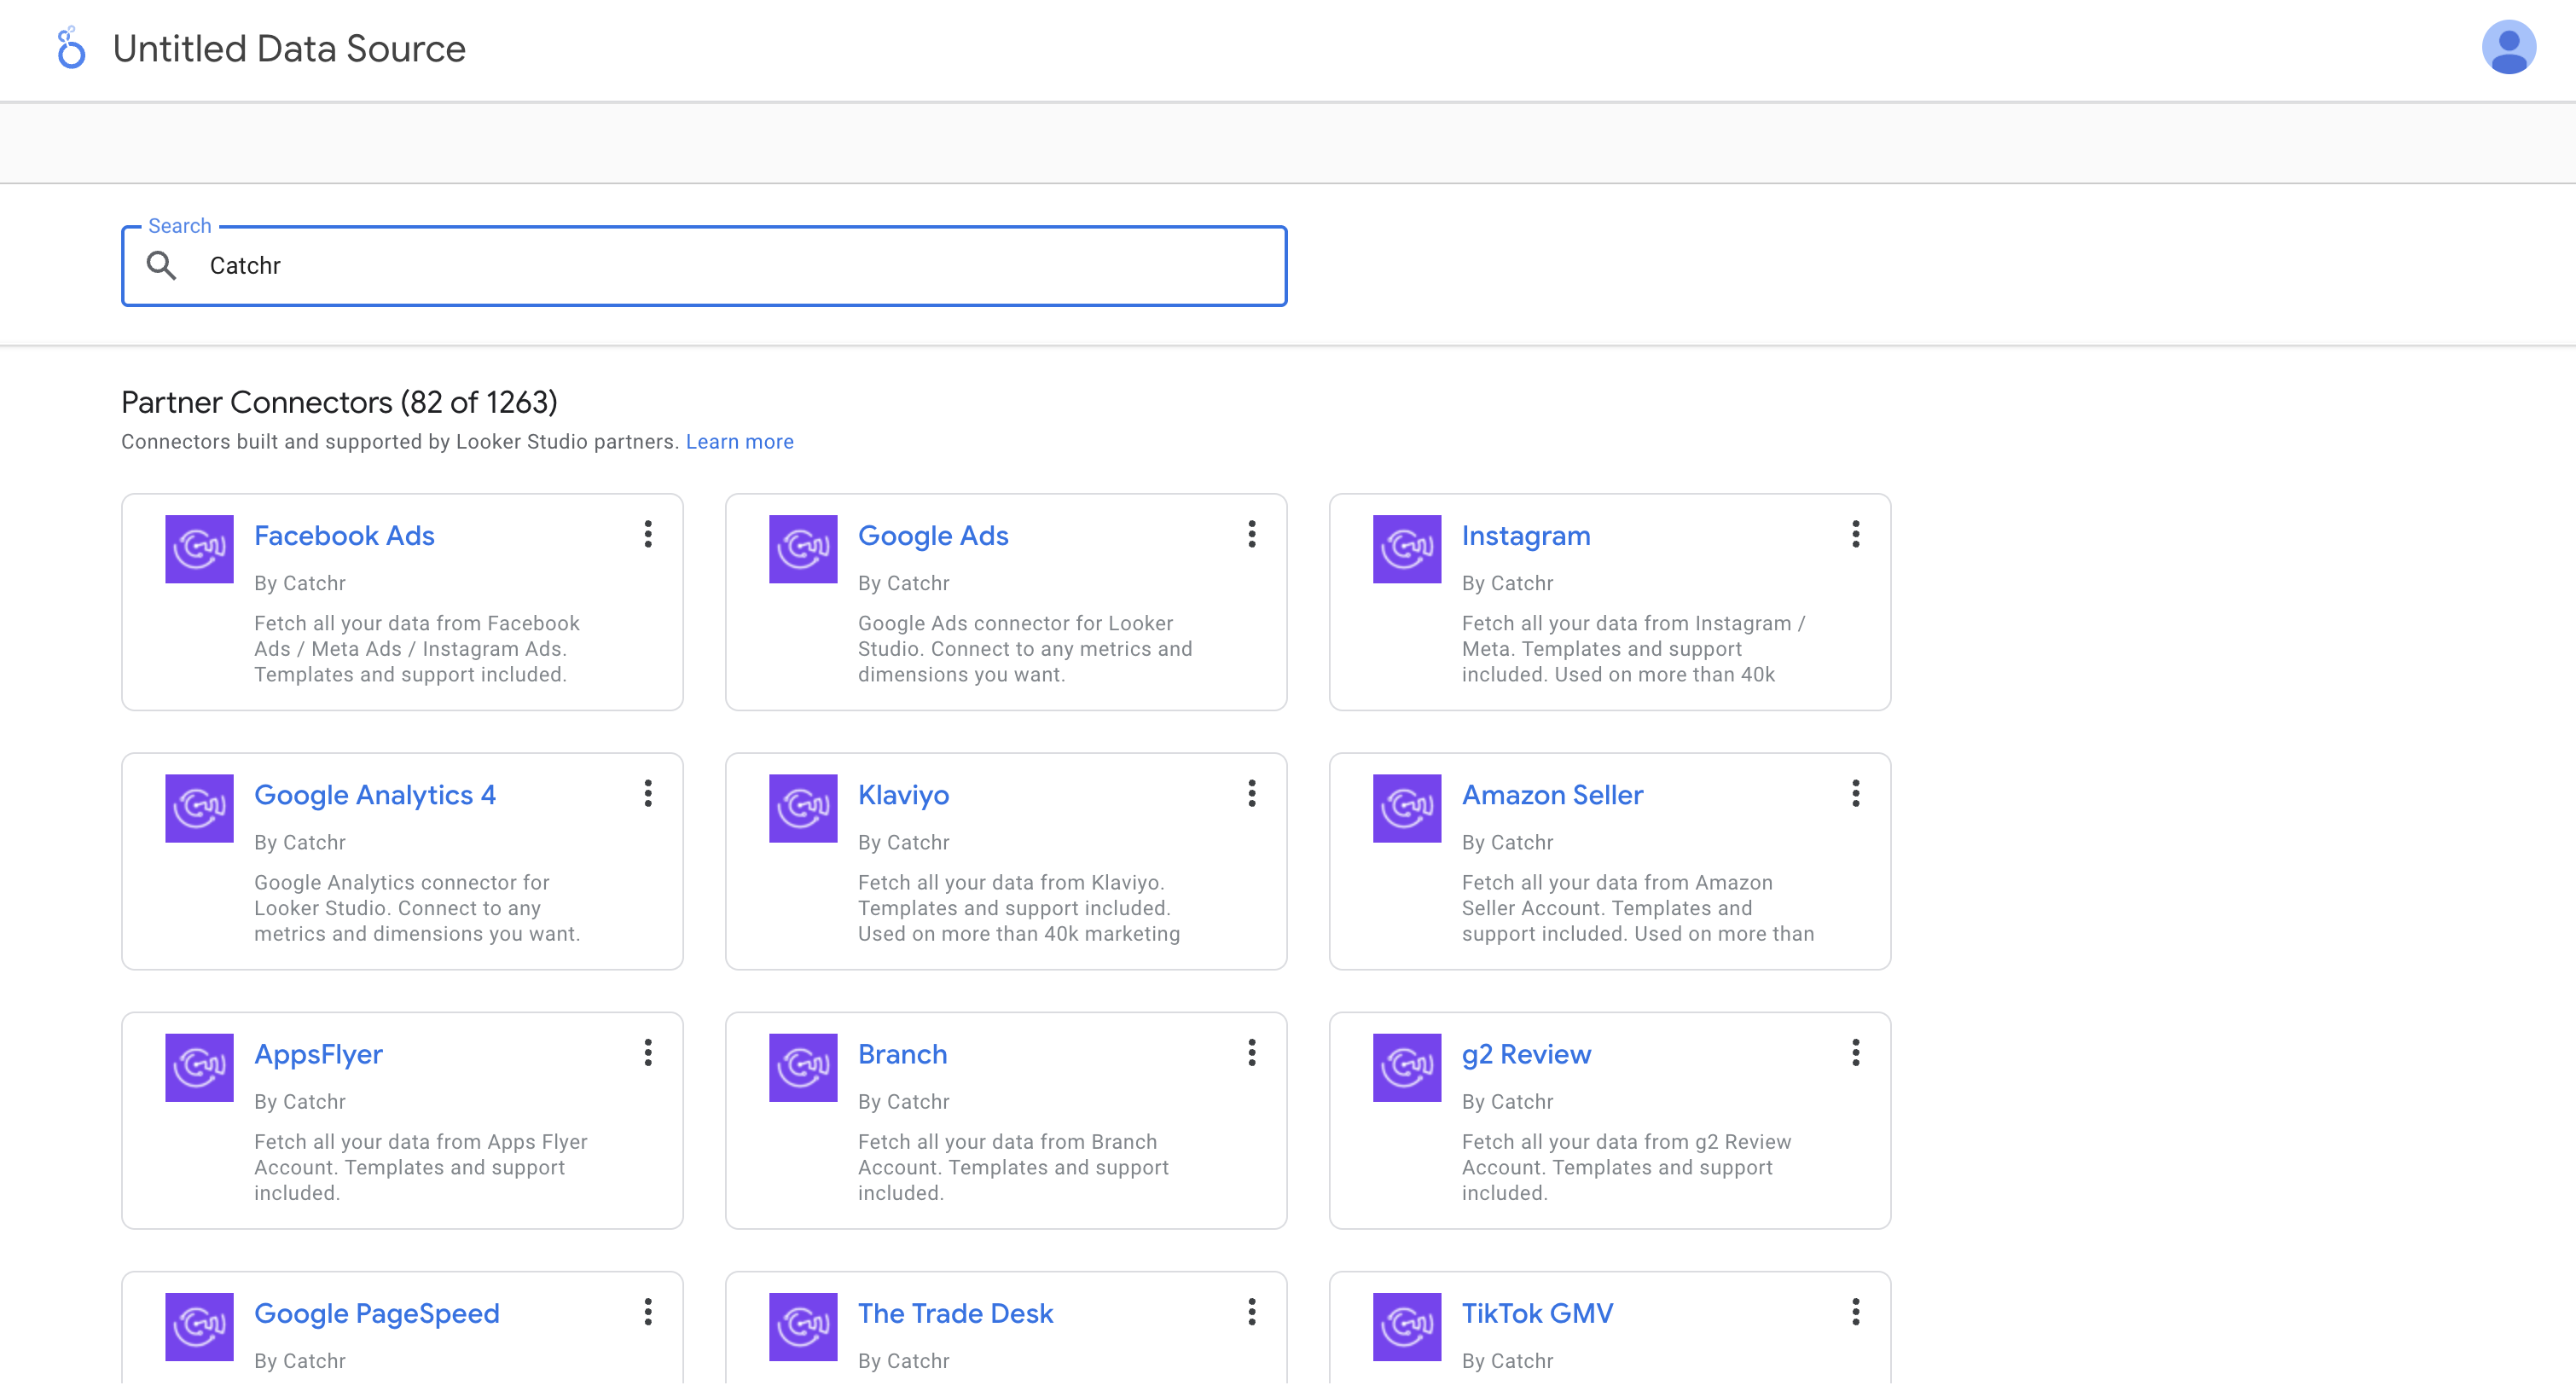
Unlike Looker Studio’s native connectors, most partner connectors require a paid subscription. You can check their pricing directly on the provider’s website. To see the subscription plans available with Catchr, visit our pricing page.
Authorize access to the data source
Once you’ve selected your data source, Looker Studio may ask for one or more permissions depending on the type of connector.
Google connectors
For native connectors, you only need to grant access to the data source. Click Authorize — a pop-up will open and prompt you to sign in to your account. In this example, it would be Google Ads, so you’ll need to log in with your Gmail account.

Partner connectors
For partner connectors, an extra step is required. First, Looker Studio will ask you to log in to your account with the connector provider (in this example, Catchr). To do this, click Authorize and follow the instructions in the pop-up window.
Next, Looker Studio will prompt you to grant access to the actual data source.
- If you’ve never connected this source through your connector provider before, a pop-up from the source itself (e.g., Facebook Ads) will open and ask you to log in to your account.
- If the source is already connected through your connector provider, you’ll be taken directly to the next step.

Configure the data source
After granting the necessary permissions, you can configure your data source. This means selecting one or more accounts from that source (or a specific spreadsheet, in the case of the native Google Sheets connector). Depending on the connector you’ve chosen, you may also need to set additional parameters, such as the report type or attribution model.

Select the accounts you want to use, adjust the desired settings, and then click Connect in the top-right corner of the page.

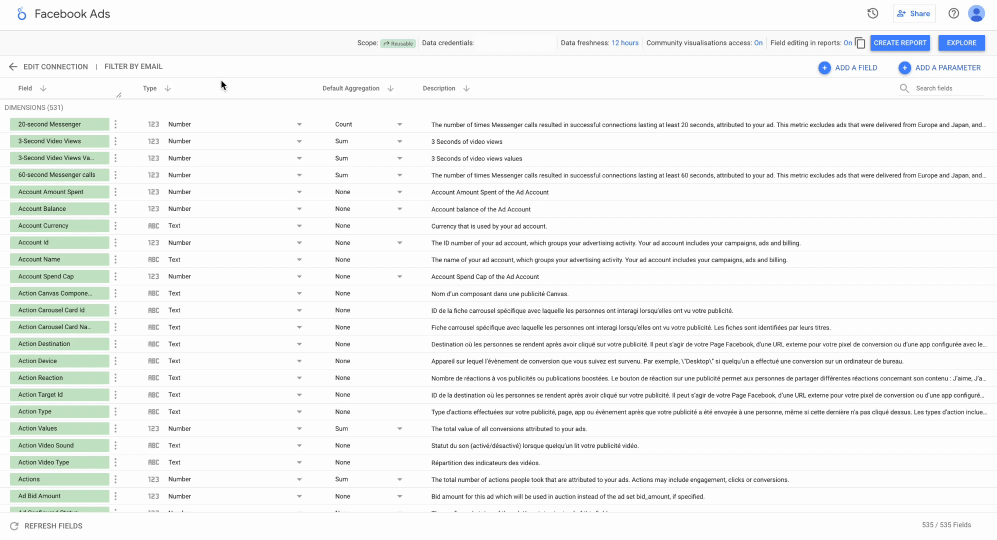
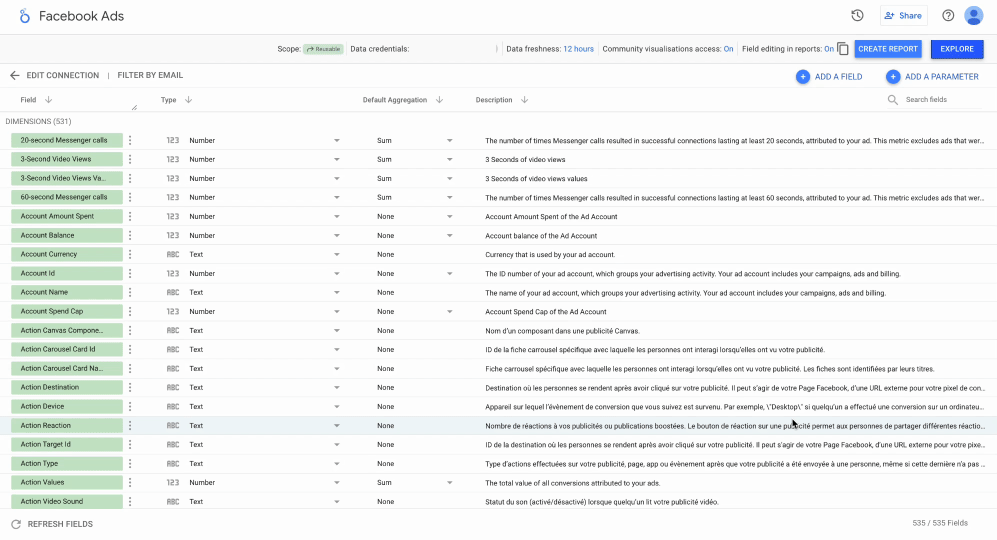
Once your source is connected, a list of all available fields will appear on your screen.
At the top, you can manage access permissions for your source. At the bottom, you can delete, hide, or edit fields such as:
- Name
- Type
- Aggregation
- Description
You can also add parameters, create calculated fields, add bins, or create groups.
Rename the data source
From this same window, you can rename your data source by clicking directly on its name in the top-left corner.
Add the data source
Once your data source is set up, you can finalize it in two ways:
- Choose Create report if you want to start visualizing your data directly in a report.
- Choose Explore if you prefer to preview and analyze your data first, without saving it in Looker Studio. This mode works like a quick “data preview.”
Best practices
When creating a source in Looker Studio, a few best practices can help improve report loading times, make your sources easier to manage, and highlight the most important elements in your reports.
Consistent naming
If you use Looker Studio regularly, you’ll quickly end up with many data sources. To stay organized, apply a clear and consistent naming convention. For example:
Connector – Platform – Customer → Catchr – Facebook Ads – Customer X
Limit the fields
One of Looker Studio’s biggest drawbacks is its loading speed. Reports can take several minutes to display data if too many fields are included. To avoid this, limit the fields you add to your source right from the start. You can either delete unused fields or simply hide them.

Check field types and aggregations
You’ll save time later if you verify the types and aggregations of your fields upfront. This way, your data source will be clearer, and you won’t need to repeat these adjustments in every report that uses it.
Troubleshooting
Edit your data source
If you need to revisit or adjust your settings, you can access your data source at any time:
- From the Looker Studio home page, under the Data Sources tab.

- From a report using the source, by clicking Resource > Manage added data sources > Edit.

Common Looker Studio errors related to data sources
You may encounter some errors when creating or using your Looker Studio data sources. The most common ones are:
- Looker Studio cannot connect to your dataset
- The owner of this data source has revoked access
- Failed to get data
Catchr has already written articles about these issues and how to solve them.
Validation checklist
A simple way to make sure you’re not missing anything before creating a data source in Looker Studio:
- You have a Looker Studio account (a Gmail address).
- You have access to the data source you want to add.
- You’ve chosen the connector you want to use (native or partner).
- (Optional) You have an active subscription with the partner connector.
- You’ve selected the necessary fields.
- You’ve verified the field types.
- You’ve verified the field aggregations.
- You’ve renamed your data source.
🎉 Congratulations! You’ve successfully created a data source in Looker Studio!

