Custom groups in Data Studio (formerly Looker Studio)
Learn how to create and manage groups in Data Studio (formerly Looker Studio) to organize your data, simplify reporting, and make your dashboards more insightful.
It may happen that you want to group certain values of a dimension in Data Studio (formerly Looker Studio), for example to make a chart easier to read or to improve the relevance of your dashboard. To do this, Data Studio offers a simple and intuitive feature that lets you create these groupings without using complex functions or formulas: Groups.
What is a Group in Data Studio?
A Group in Data Studio (formerly Looker Studio) is a feature that simplifies the creation of custom groupings for your dimensions, without needing to write complex CASE WHEN expressions or rely on SQL logic.
This type of field allows you to easily assign fixed labels or categories to specific values based on defined conditions. For example, you can group several countries into regions, organize states according to your own criteria, or transform cost ranges into clear, readable categories.
The main advantage lies in its speed and flexibility: you save time when building your reports while improving data readability for your end users.

Differences between Group and Bin
In Data Studio, the concepts of Group and Bin (also called "bucket" or "interval grouping") both serve to organize data, but they follow different logics and purposes.
Custom Group
A Group allows you to combine categorical values (text, names, labels, etc.) into custom categories.
Example: Imagine you have a dimension called Country with the following values: France, Germany, Spain, Italy, United States, Canada. You can create a group to combine certain countries:
- Europe → France, Germany, Spain, Italy
- North America → United States, Canada
You then obtain a new grouped dimension that follows your business logic.
Custom Bin (Interval Grouping)
A Bin applies to continuous numerical values (numbers, durations, amounts, etc.) to classify them into ranges or intervals.
Example: You have a metric called Session Duration (seconds) with the following values: 30, 45, 120, 180, 250, 400. You can create bins of 100 seconds:
- 0–100
- 100–200
- 200–300
- 300–400
Each numerical value is then placed into the correct range.
Custom Groups vs CASE
Using a CASE statement allows you to create custom groupings by writing conditional formulas through a calculated field in Data Studio. This method offers great flexibility, but it remains technical: each rule must be written manually, and even a small syntax error can distort the results. It is therefore best suited for users who are comfortable with programming logic.
Groups, on the other hand, provide a simpler and more visual alternative. Instead of writing conditions, you just need to select existing values and assign them to a custom label. This method reduces the risk of errors and makes grouping creation accessible to all users, regardless of their technical background.
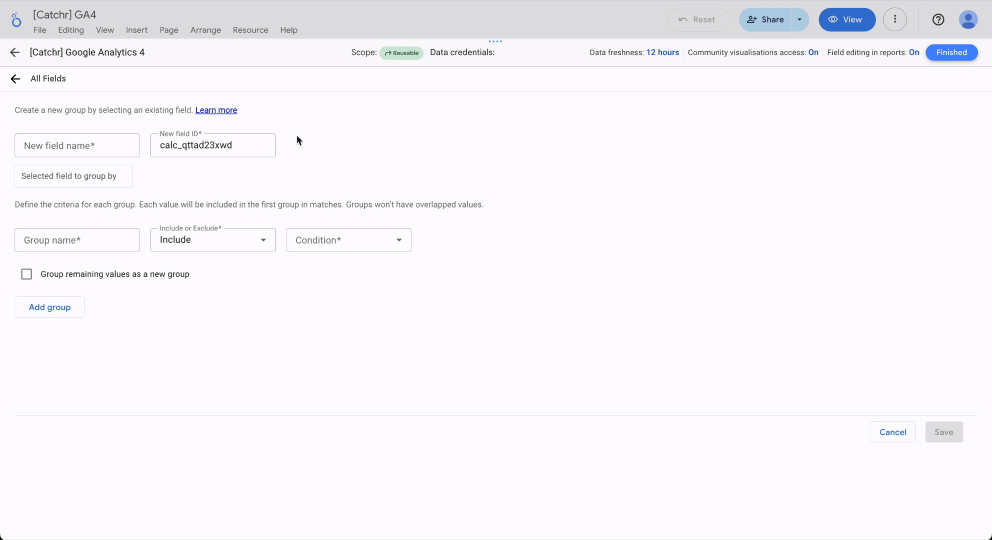
How to create a Custom Group
Access the Group creation window
You can create a group directly from a Data Studio (formerly Looker Studio) report. From the Resource menu:
- Go to Manage added data sources.
- Choose the data source you want to modify and click Edit. This is where you will define the basis of your grouping.
- Click the blue Add a field button to start creating a new field.
- From the available options, select Add group.
You can also find all your custom groups later in the field list by going to: Resources > Manage added data sources > Edit
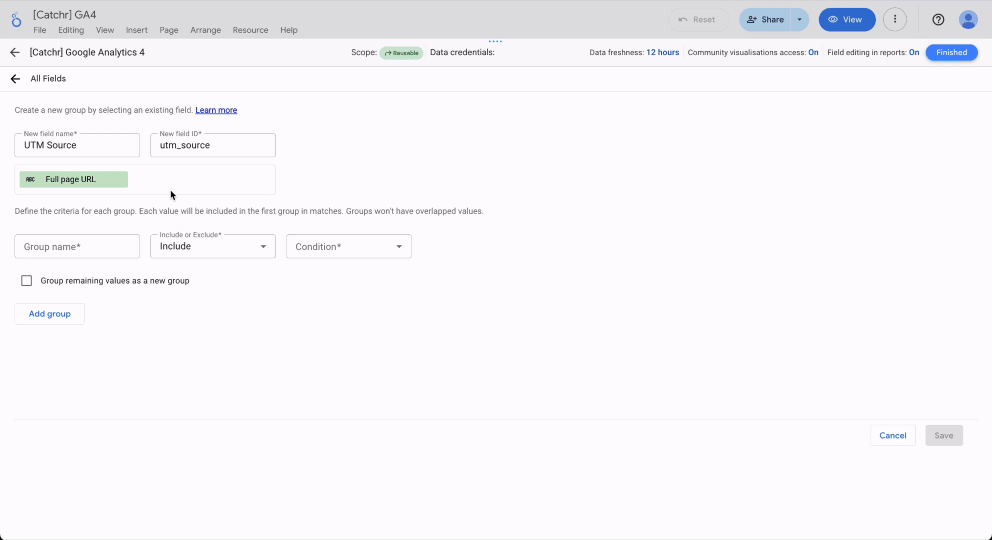
Configure your Group
1. Name the group
Start by giving your new dimension a clear and distinctive name, such as UTM Source or Grouped UTM Source. This label will appear in your field list and make it easier to identify within your charts.
2. Choose the field to work on
Now it’s time to select the field you want to work with. Using the dropdown menu, choose the dimension you want to organize. In our example, we suggest grouping the Full Page URL dimension by UTM Source.

3. Define the Different Groupings
Finally, create your first group. Give it a name, specify whether it should include or exclude certain values, and set the corresponding condition.
For example: LinkedIn, Include, Contains, “utm_source=linkedin”.
Once confirmed, your grouping is ready to use and can easily be applied in your visualizations.
Using Data Studio Groups in Marketing
Grouping by UTM
Imagine your 150 UTM campaigns scattered across different channels. With grouping, you can organize them into just five clear categories: Brand, Performance, Affiliation, Email, and Social. In just a glance, you can compare their ROI and identify which channels truly drive your conversions, sometimes revealing that 80% of results come from only a few key sources.
Grouping by Location
In the same way, geographic segmentation helps you move from a granular analysis to a more strategic view.
Instead of analyzing California, Texas, and Florida separately, you can group them into a single zone called “Southern United States.” Similarly, New York, New Jersey, and Pennsylvania can become “Northeast.”
Dashboards become clearer, local teams can focus on their specific markets, and management gains a consolidated, strategic view of performance by region.
Grouping by Products
Finally, think about your products. With hundreds of SKUs, raw data can quickly become overwhelming. By grouping these items into main categories such as Electronics, Home, or Fashion, you can uncover trends that would otherwise go unnoticed.
For example, grouping can reveal a 15% growth in electronics sales in the first quarter of 2024, providing a strong foundation for strategic decisions.
Custom Group limitation
Data Studio allows up to 195 groups per field (source: 2024 documentation).
Conclusion
Groups in Data Studio (formerly Looker Studio) offer a simple, visual, and powerful way to structure your data without writing a single line of code. In just a few clicks, you can turn a complex set of values into clear, meaningful categories for analysis.
Whether you are grouping your UTM sources, geographic areas, or product families, this feature helps make your dashboards more readable, actionable, and strategically valuable.
