How to create and apply a filter in Looker Studio?
When you launch an ads account, you will have multiple campaigns with several objectives.
When it's time to analyze your result, you should filter your Looker Studio report to only display necessary information at a given time.
That's why you need to create and use filters.
In this quick tutorial, I will show you how to create filters in Looker Studio and apply them to your component.
Create a filter in Looker Studio:
From the menu Resource, then Manage Filters, you'll reach the list of the already created filter. Here, you can create a new one, edit an already-made one, or remove a filter.
Manage Filters menu in Looker Studio
Click on Add a filter to create a new one from scratch.
Create a new filter on Looker Studio.
Then, choose your filter step by step :
First: Include or exclude: what will your filter do?
Second: Choose a field to apply a condition (for example, if you want to filter on branding campaigns, you will choose the "Campaign name").
Third: Select a condition through the list:
Equals: must match the exact text filled in the next step.
Contains: must have the text fill in the next step.
Start with: must start with the text filled in the next step.
RegEx Match: must match the exact regular expression fill in the next step.
RegEx Contains: must contain regular expression fill in the next step.
In: must be in the list given in the next step.
IsNull: if the field selected in the previous step is null.
Fourth: Write your text depending on the condition chosen in the previous step.
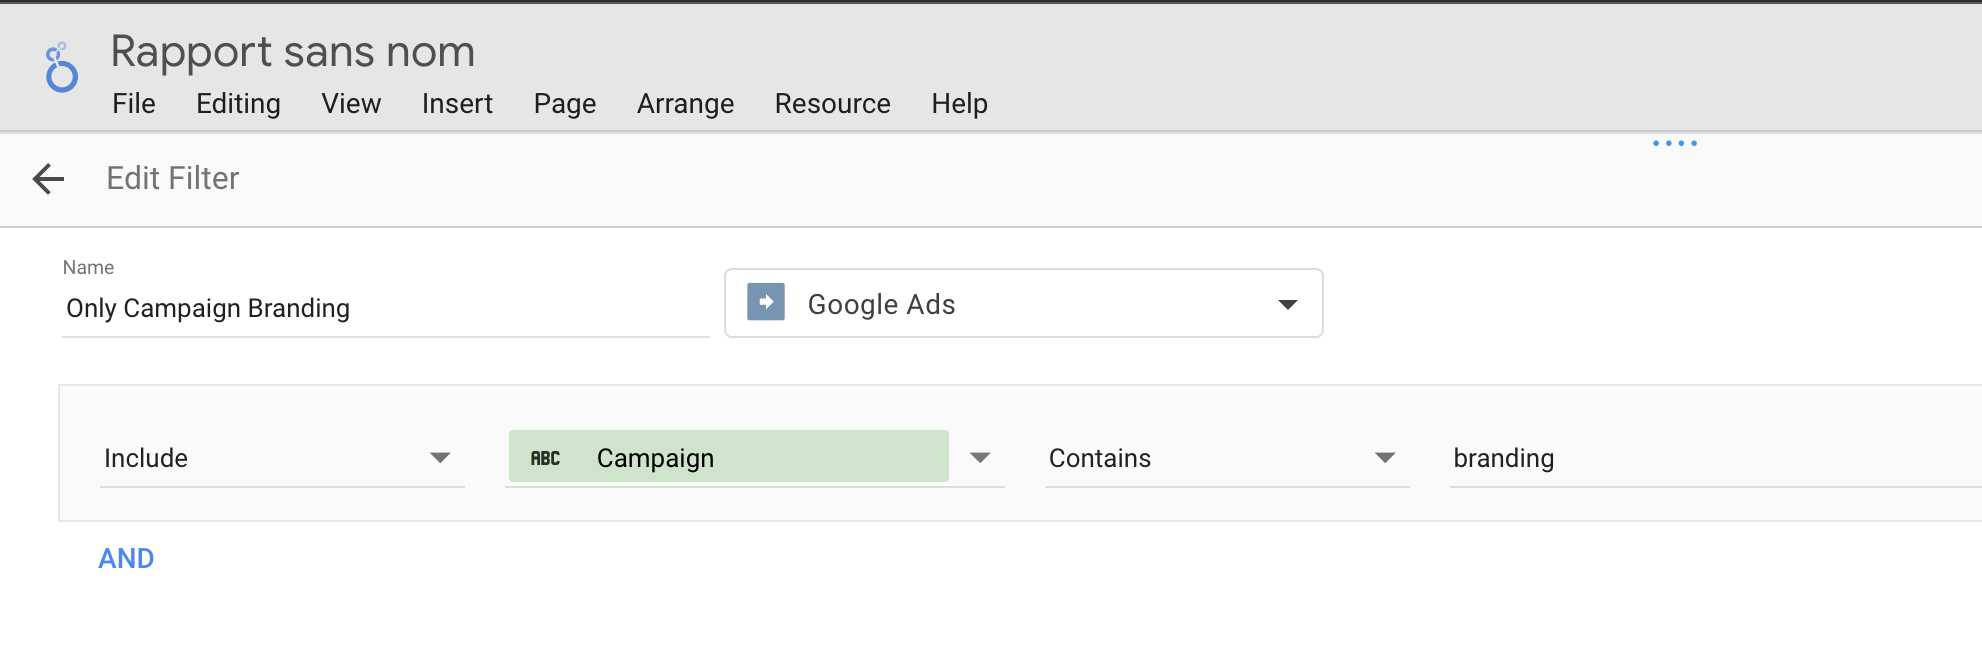
For example, if I only want the result of my campaign containing branding in their name, my filter will look like this :
Filter on branding campaign on Looker Studio.
Tips: Even if the name is automatically filled, you want to give it your own name so you can find it easily later.
Apply your filter:
Once your filter is created, you can select any component on your page to open the configuration panel.
Look for the Filter section at the bottom of the panel and click Add a filter. Looker Studio opens the filters list, and you can select the one you want.
Apply a filter to a table Looker Studio
It will apply your filter to the selected component.
You can apply filters on all components, even if they do not contain the field selected in the filter.
For example, I can create a card with only the spend and apply my branding filter. It will, therefore, only display the spending for my branding campaigns.
Bonus Tips :
You can apply a filter on an entire page or report at once.
Page level: From the menu Page, then Current page settings, look for the Filter section in the right panel. Choose a filter.
Congrats, you apply it on all your component on the page.
Report Level: From the menu File, then Reports settings, look for the Filter section in the right panel and choose your filter !
It is just apply to the entire report.
Warning : Page and Report level filters are great, but I advise to use them if you only have one data sources in the page or report.
You can't find an answer to your question ? Feel free to write in the chat. An expert is here create to right tutorial page to answer your question !
.png)